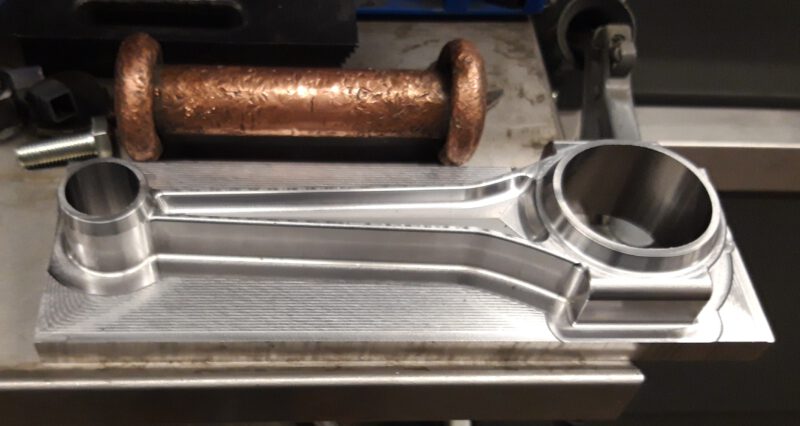
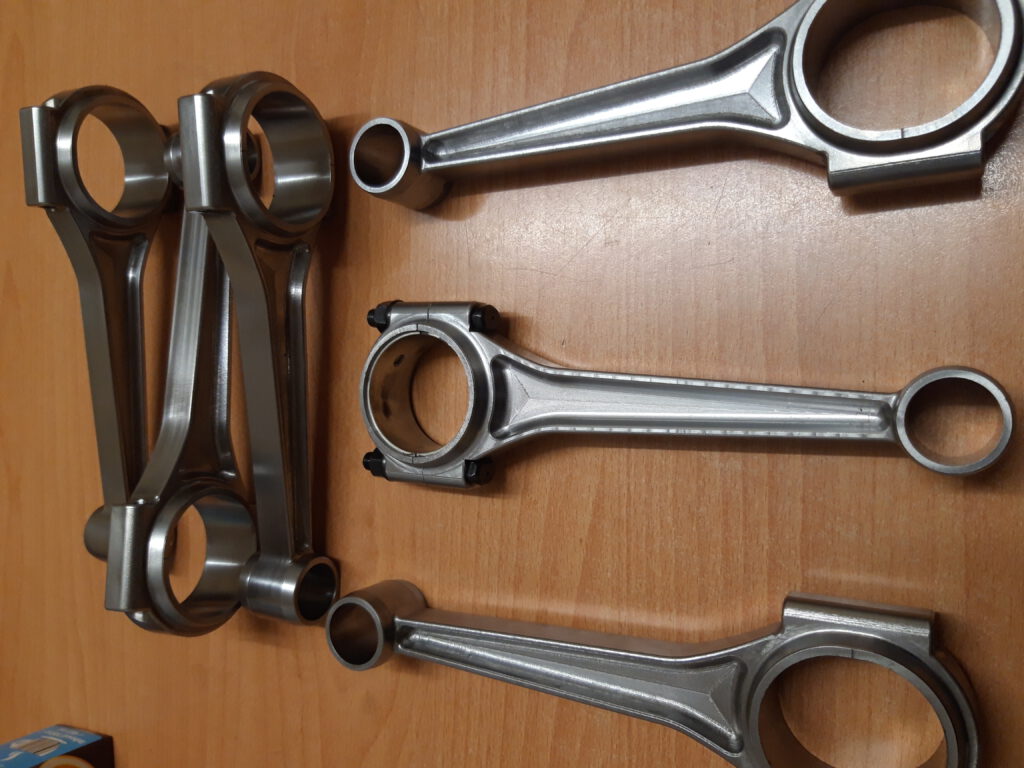
When making this specific Mercedes connecting rod, I employed two methods. The first involved using a custom-made mold to hold the work piece in place. The other method used a single fixture on the fourth axis. Unfortunately, I spend more time working on the project than photographing it.
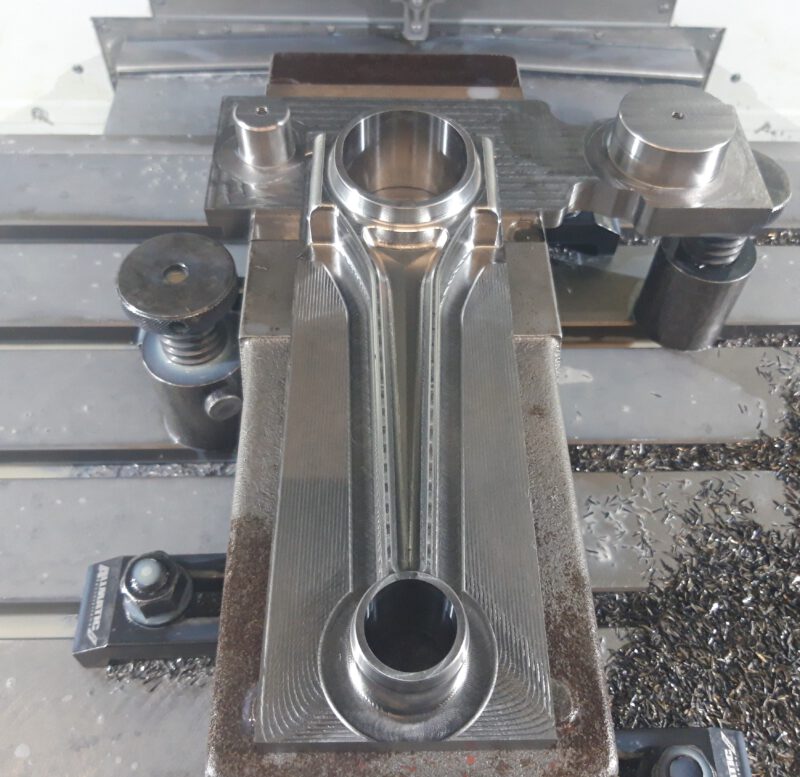
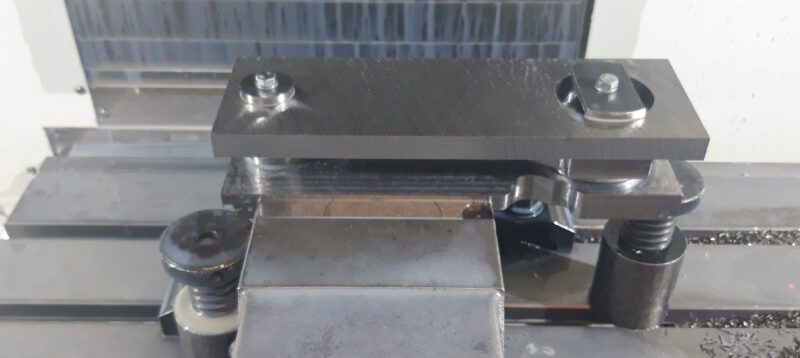
The connecting rod was made in three operations. During the first, a block of steel was milled horizontally in a hydraulic clamp. For the second operation, the work piece was placed in a custom holder to allow for horizontal machining on the other side. Finally, the holes were made with the help of a vertically clamped holder. The finishing touches were made on a conventional milling machine.
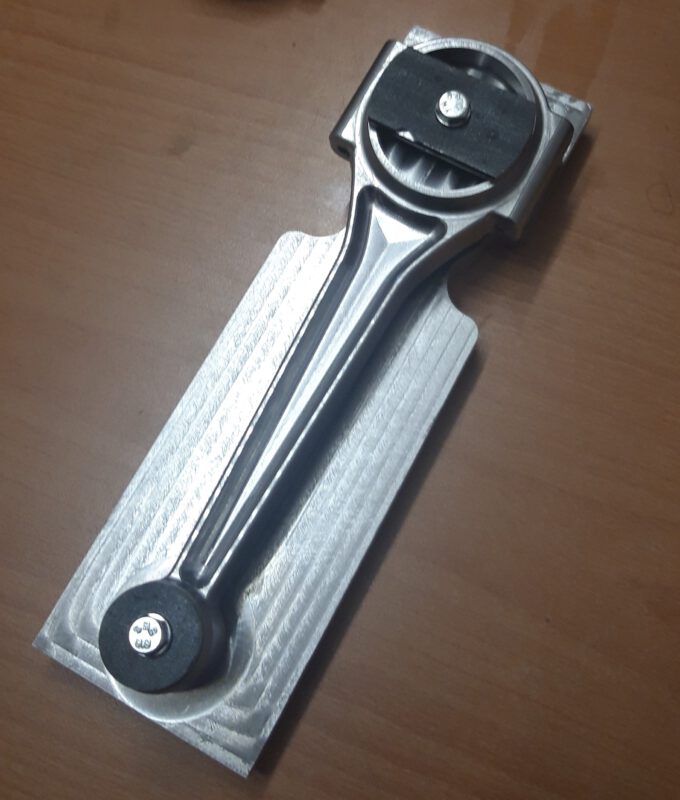
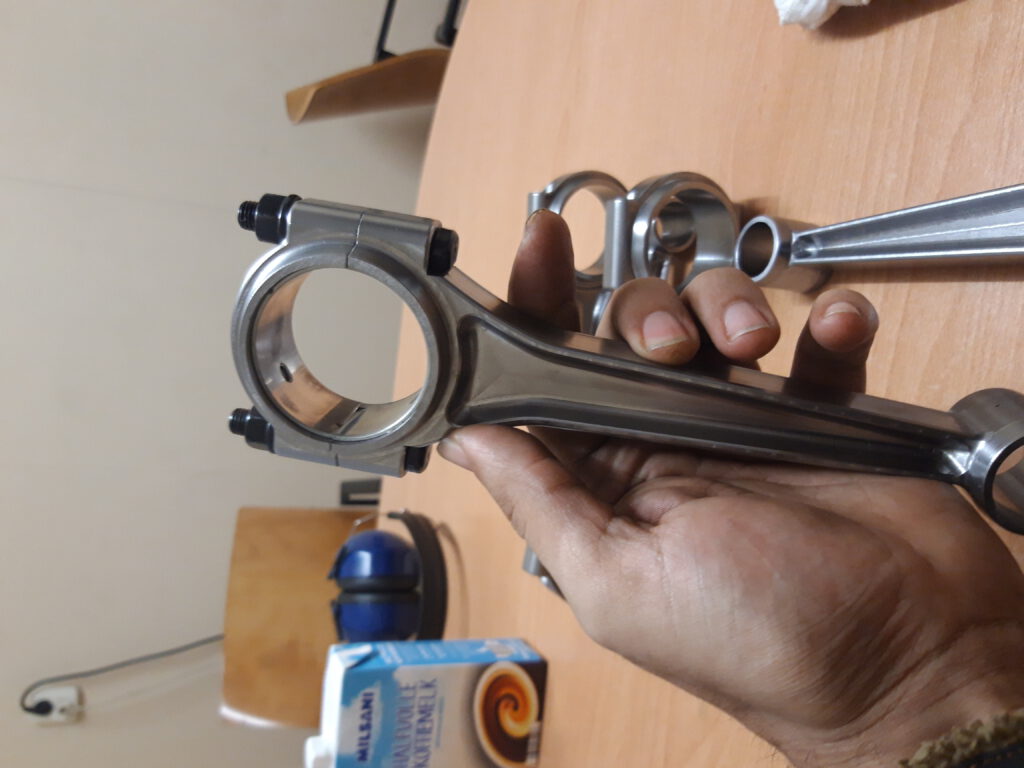
We achieve the desired finish by cutting the big end in half. We then use a Bridgeport milling machine to flatten the two halves of the big end. We test to ensure that the bolts fit according to our specifications. We always leave an allowance in the diameter of the big end. We then use a machine with a gearbox to re-bore the big end to the correct size. After a light honing, we fit the bearing to the specified tolerances.